What is MEP and Why Does It Define the Quality of Your Villa?

MEP stands for Mechanical, Electrical, and Plumbing — the circulatory system of your villa. It is one of the areas where the gap between an average contractor and an excellent one is most visible, and most costly to fix after the fact. If you are still early in the process, our guide to the stages of building a villa in Jeddah covers where MEP fits into the overall timeline.

The Systems Behind the Walls

Every luxury villa depends on three coordinated systems working together long after the finishes are complete. Get MEP right, and the villa simply works — quiet, efficient, and reliable for decades. Get it wrong, and even the finest marble and joinery can’t hide the problems underneath.

Mechanical: Climate and Ventilation

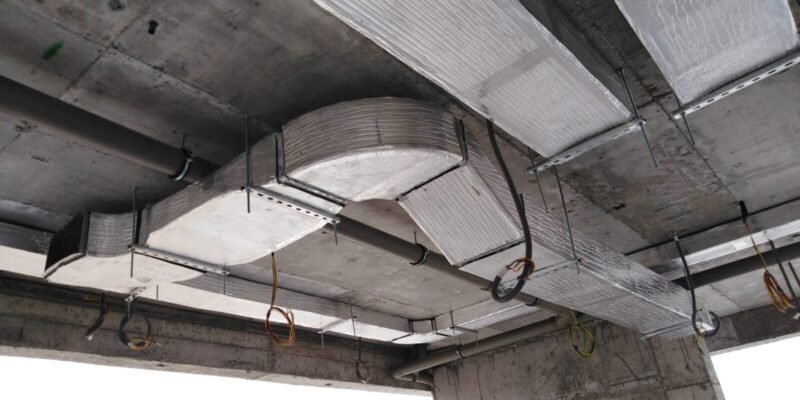
In Jeddah’s climate, HVAC design is a necessity. A properly designed mechanical system includes zoned air conditioning, adequate fresh air ventilation, kitchen and bathroom exhaust, and central filtration where required. Poorly designed HVAC leads to uneven cooling, condensation problems, noisy units, and high electricity bills.

Electrical: Safety, Capacity, and Intelligence

A luxury villa’s electrical system must be designed for future capacity. This means planning for smart home integration, sufficient circuit distribution, proper earthing and protection systems, and backup power provisions. Electrical deficiencies range from inconvenient (tripping breakers) to dangerous (fire risk from undersized wiring).

Plumbing: Where Quality is Measured in Decades

Plumbing failures in villas are disproportionately expensive to fix after finishes are complete. Water leaks behind marble walls or under stone floors require full demolition to repair. This is why material quality, connection quality, and pressure testing before finishing are non-negotiable. A professional MEP contractor pressure-tests every circuit before walls are closed.

Coordinated MEP: The Falcon Standard

At Falcon, MEP is not subcontracted to a third party and managed separately. Our MEP systems are coordinated in-house with our structural and architectural teams from the design stage — eliminating the most common cause of MEP failure: clashes between systems designed independently and installed without coordination.

We maintain inspection checklists at every MEP milestone — rough-in, pre-cover inspection, and commissioning — so that every system is tested and documented before it is concealed.

If you are planning a villa, ask your contractor how they handle MEP coordination. The answer will tell you a great deal about how your project will be managed.

Ready to build a villa with MEP done right from day one? Request a quote from Falcon and let’s talk through your project.

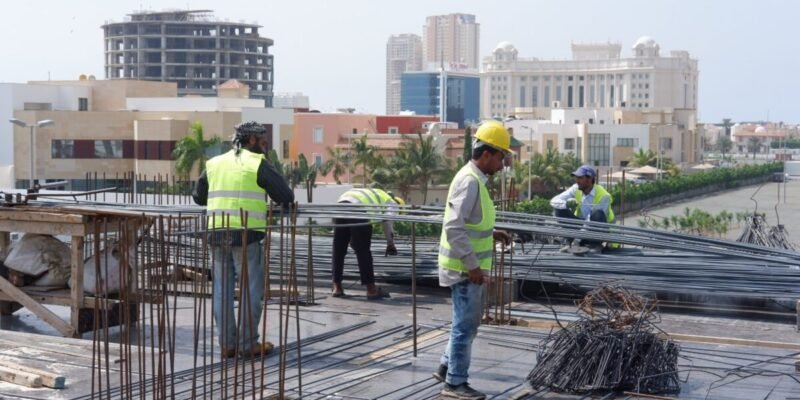
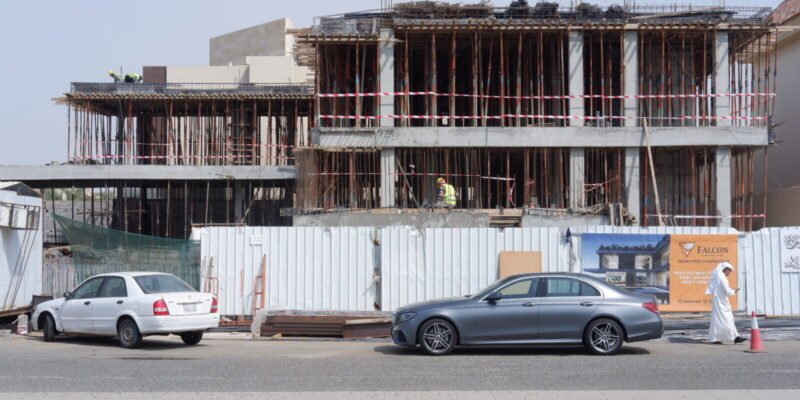
فيلا تحت الإنشاء في جدة تُظهر مرحلة الهيكل الإنشائي

Stages of Building a Villa in Jeddah: A Complete Guide

Many villa owners enter a construction project without knowing what to expect at each stage. This ambiguity leads to misaligned expectations, friction with the contractor, and sometimes costly decisions made from uncertainty.

At Falcon Construction, we believe an informed client is a satisfied client. Here is a complete guide to the stages of villa construction in Jeddah.

If you are still working out the budget side, our guide to villa construction costs in Jeddah breaks down the numbers before you commit to a design.

Stage 1: Design and Permitting

Before any work begins on site, the design must be completed and official approvals obtained. This stage includes:

Expected duration: 4 to 12 weeks depending on project size and complexity.

Stage 2: Site Preparation and Excavation

  • Setting out the building boundaries and establishing levels
  • Excavation and backfill according to drawings
  • Removal of surplus soil from site
  • Formwork preparation for foundations

Stage 3: Foundations

Foundations are the first critical structural element — and no compromise is acceptable here. At Falcon, we use accredited soil testing laboratories to ensure the foundation type is appropriate for the specific ground conditions at your villa site.

  • Pouring of plain and reinforced concrete
  • Installation of reinforcement steel per structural specifications
  • Concrete compression testing

Stage 4: Structural Frame

This phase involves construction of columns, beams, and slabs for each floor from ground level up to the roof.

Expected duration: 3 to 8 months depending on number of floors and design complexity.

Stage 5: Internal Construction — Rough Works

  • Construction of internal and external walls
  • Thermal and waterproofing insulation
  • Running pipes and electrical conduits inside walls
  • Plastering and render works

Stage 6: Finishing Works

  • Installation of floor finishes — marble, stone, ceramic
  • Installation of doors and windows
  • Interior painting and decorative finishes
  • Kitchen and built-in wardrobes installation
  • Final electrical works — switches, lighting, distribution boards
  • Final plumbing works — basins, fixtures, sanitary ware

Stage 7: Testing and Handover

Before final handover, Falcon conducts comprehensive testing of all systems: electrical, plumbing, HVAC, fire alarm and suppression. This is followed by a joint inspection walk-through with the client before the completion certificate is issued.

How Long Does the Whole Build Take?

For a luxury villa in Jeddah, expect 14 to 18 months from the date the building permit is issued to final handover. Add another 4 to 12 weeks before that for design and permitting, which puts the realistic total at roughly 15 to 21 months from the day you start design work.

That range moves with the specification level. A villa with a basement, pool, extensive landscaping, or full smart home integration sits at the upper end. Delays most often come from three sources: late client decisions on finishes, design changes after structural work has started, and material lead times on imported items.

The single most effective way to protect your timeline is to finalise finishing selections before the structural frame is complete. Every decision deferred past that point has a compounding effect on the schedule.

Are you in the planning stage for your villa? Contact the Falcon team for a detailed project timeline tailored to your specific scope.

Guide to Applying Plastering onto Concrete Block Wall.

1. Gear up

Prepare your tools and materials. You’ll need a dust mask, safety glasses, and protective gloves. You obviously need sand and cement (or a pre-mix) to make the mortar. You’ll also need a mixing drill, a few buckets, and a spirit level, a long screed, a plastering hawk and a trowel.

2. Prepare the surface

Use a wire brush or industrial broom to remove any excess dust and scrap off any extra mortar coming out from the concrete blocks installation. Lightly spray the surface with water to help adhesion. As a guide to the plastering thickness, you can nail small pieces of wood at different areas of the wall.

3. Load the hawk with some mortar

Use the trowel to put a sufficient portion of mortar to work with and mix it to ensure you have a good consistency.

4. Apply the plaster (mortar) to the wall

Use the trowel to apply an even layer of plaster, starting from a top corner, going to the bottom. Work with a few blocks at a time, and try to maintain an even spread until you have covered the entire wall.

5. Screed the plastered surface

Mortar sets quickly, so once it is dry enough, apply pressure with the metal screed to achieve a smooth surface. Start from one side of the wall, keep even pressure, and work your way to the end of the wall. You’ll flatten the surface and get rid of any excess mortar.

6. Check levels and straighten the wall.

Check if the mortar is straight. A deviation of about 3 mm for every 2 meters is an accepted tolerance. Use the spirit level to remove any excess plaster if the wall level is not flat, until you achieve the desired level. Run the screed again to get a smooth surface.

7. Use the trowel for touch ups and corners.

Patch any areas that were missed using the screed, especially the corners of the wall and any areas were some irregularities in the wall existed. Smoothen the edges of the wall.