
Plaster is the base for everything that goes on a wall: paint, tiles or wallpaper. If the plaster is done badly, no finish above it will hold, whatever it costs. This page sets out Falcon’s method for villa plastering, and what to check when you compare contractors.
Mesh and anchors at the weak points
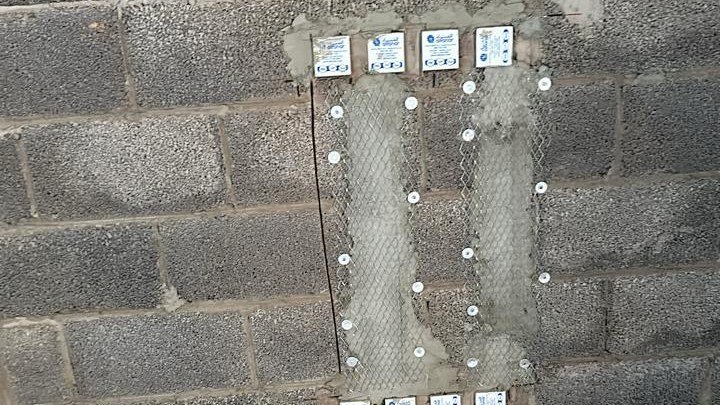
Before any plastering starts, we fix metal mesh with anchors at every junction between block and concrete, and at every conduit point. Block and concrete expand at different rates in the heat, so the mesh stops the plaster cracking along those lines.
The dash coat
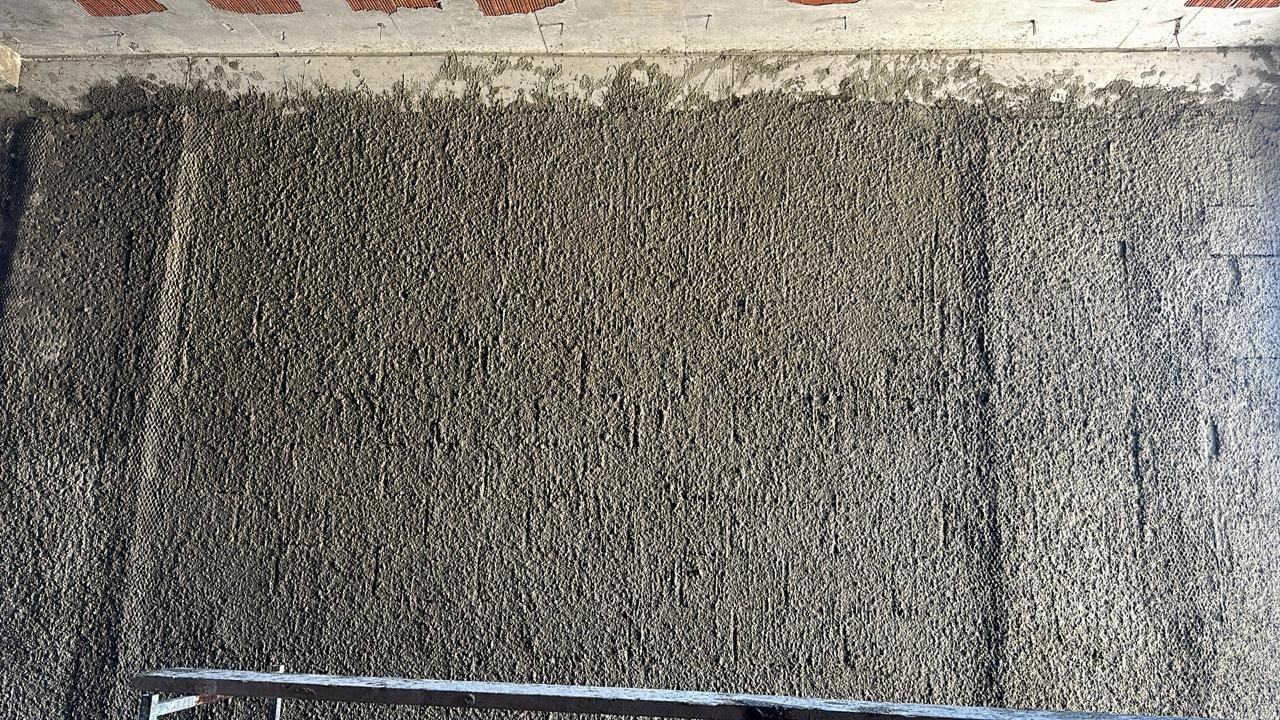
The first layer is a dash coat, thrown on rough on purpose. Its texture gives the main plaster something to grip. We keep it moist for 3 days before the next step, because in Jeddah’s heat, cement that dries too fast cracks.
Reference points and guide wires
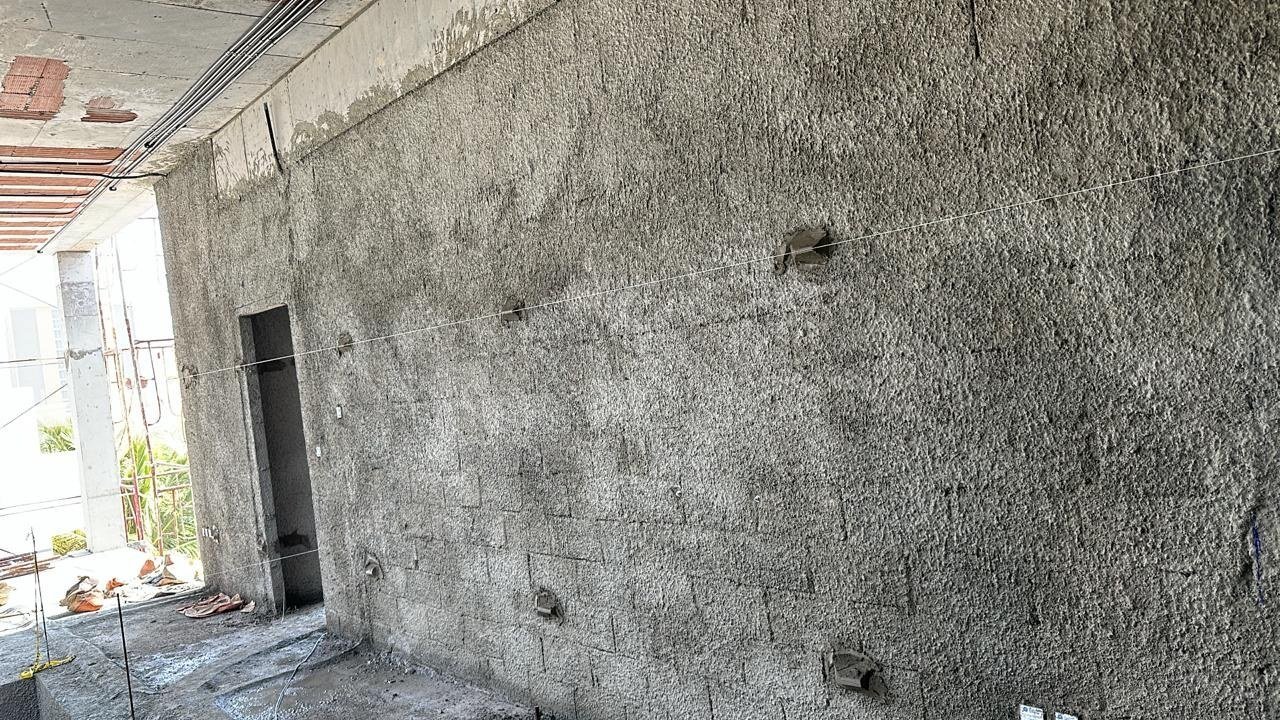
Next, we fix cement reference points to the wall and stretch taut guide wires between them. They keep the wall straight, both vertically and horizontally. We also set them across walls that meet, so every corner comes out at exactly 90 degrees.
The main plaster
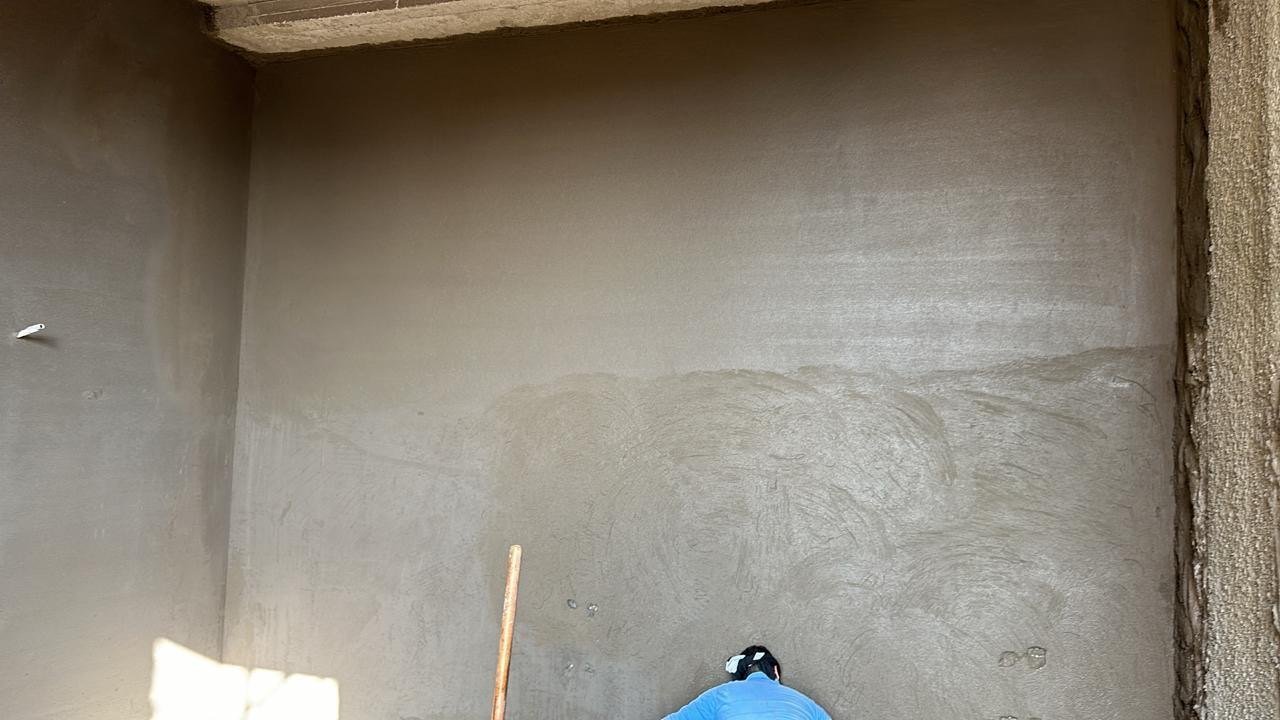
We then fill the wall with cement plaster between the reference points, and use the guide wires to get a flat, even surface with no deviation.
Corners
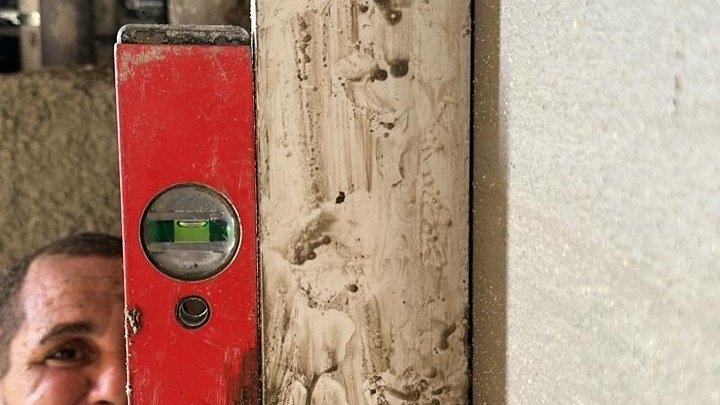
Corners are where the craftsmanship shows. Before plastering, we fix a steel corner bead on every corner. It keeps the corner perfectly straight, and it protects the edge of the wall if something bumps into it. An uneven corner shows clearly once the wall is painted.
Curing
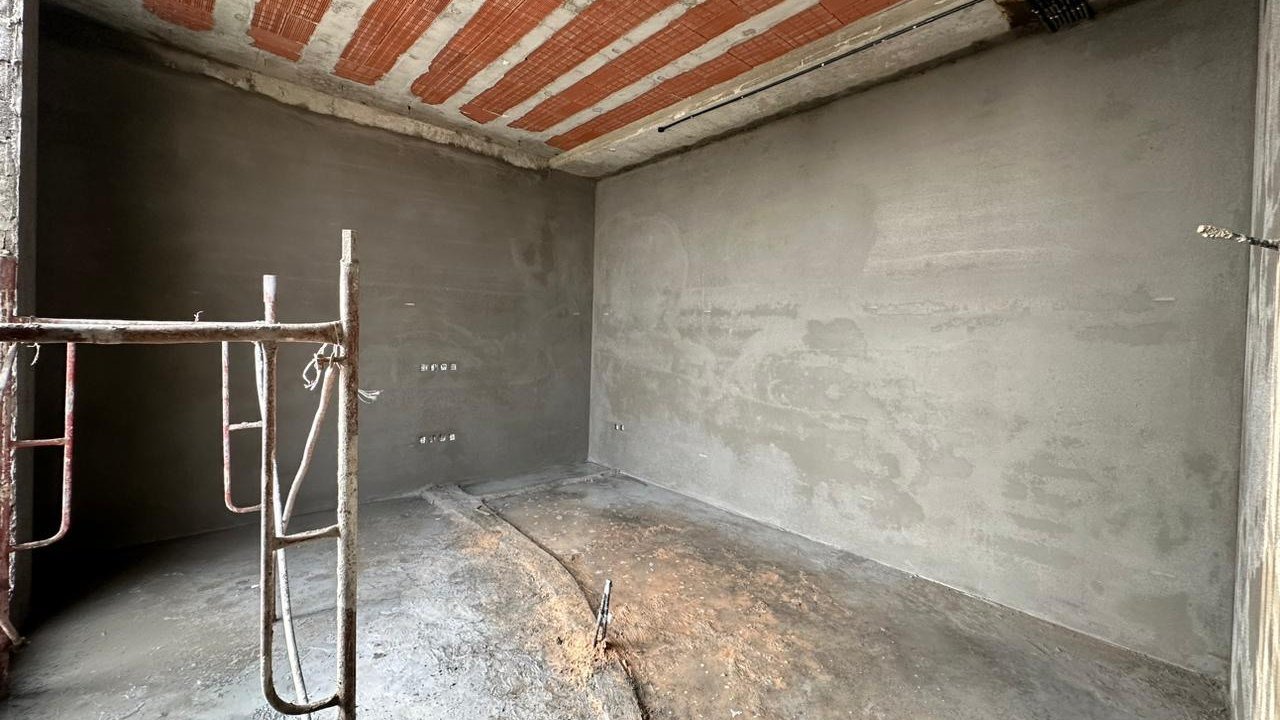
Curing is the step most contractors skip. We cure the dash coat for 3 days and the full plaster for 7 days. Water goes on in the early morning and late afternoon only, and never as cold water sprayed on a hot wall. Painting only starts once the plaster has fully dried, which takes several weeks. Painting too early causes cracking.
The tapping test
After the plaster dries, we tap every wall. A hollow sound means a void behind the plaster and weak adhesion, so we repair it before any finishing. A correctly plastered wall sounds solid and even at every point.
Who checks it
Every Falcon project has a dedicated site engineer. The site engineer inspects and signs off each stage, followed by the client’s consultant if there is one, before the next trade starts. In addition, the work follows the Saudi Building Code, the approved drawings and the manufacturer’s instructions. Once the plaster has cured and fully dried, the walls move on to interior painting.
Shortcuts to watch for on cheaper jobs
- No mesh at the junctions between block and concrete.
- No dash coat or alignment system before the main plaster.
- Not waiting 3 days after the dash coat.
- Painting before the plaster has fully dried, or tiling before 7 days.
- No steel corner beads, so corners are not straight and get damaged easily.
The result: cracks, peeling and hollow patches that keep coming back.
Questions to ask any contractor about villa plastering
- Will you fix mesh at the block-to-concrete junctions and conduit points?
- Will there be a dash coat, and how long will it be kept moist?
- How do you keep the walls straight and the corners at 90 degrees?
- How long will the plaster cure before painting or tiling?
- How do you check for hollow spots before finishing?
Building a villa in Jeddah?
Send us your drawings and we’ll prepare a written, itemised quotation. See also the Falcon Standard for how we handle the other stages of the build.